
Complete T1–T7 Progression Guide
Follow one factory from its first Wet Sand line to the current endgame. Each tier consumes the previous tier’s byproduct, so the safest design is a chain of expandable modules rather than isolated builds.
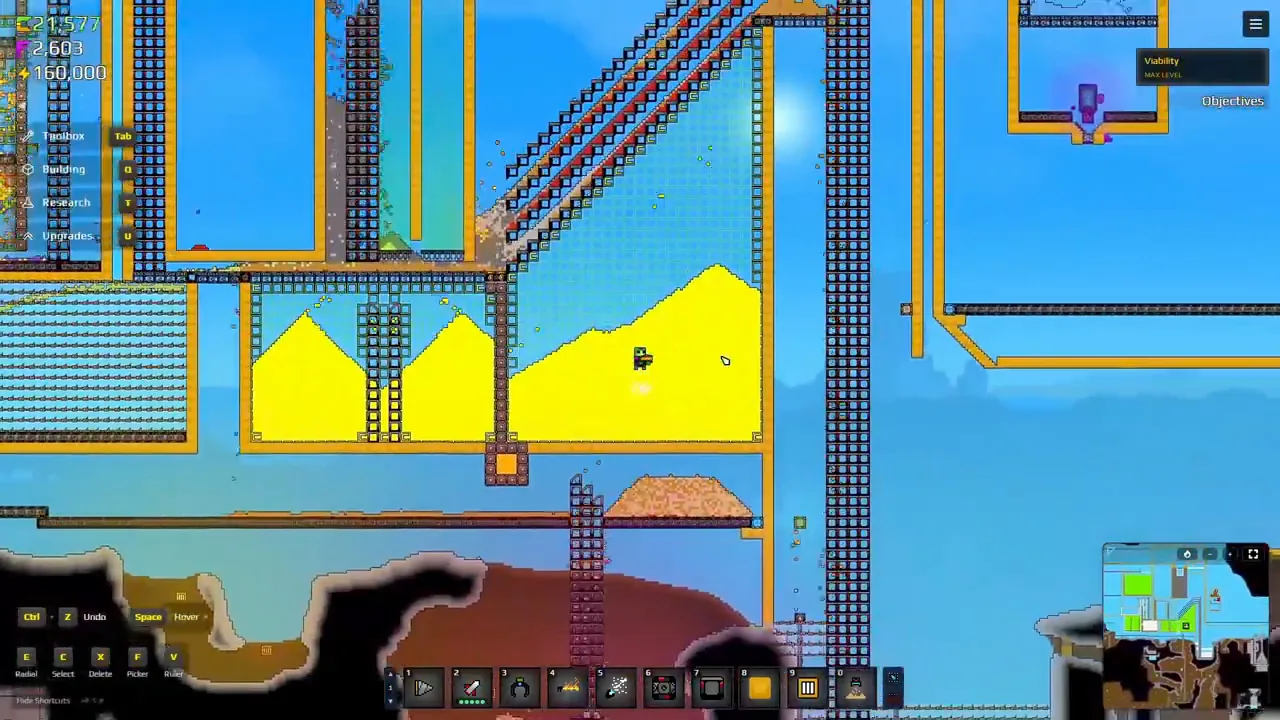 Practical guide
 Tier 1: Wet Sand and the First Shaker
Build beside Water or route mined Sand through a wetting pool before it reaches the Shaker. Leave access below the input so a later Conveyor and Launcher can feed the same module. Once Filters unlock, return any dry Sand to Water instead of letting it contaminate the line.
Tier 2: Burn and Press the Residue
Do not discard the Shaker output. Burn Residue into Burnt Residue, then give it the required drop onto a Kinetic Press. Split the resulting Gold and Seeds immediately: Gold goes to Collectors, Seeds become the input for the next tier.
Use separate return paths for dry Sand, Wet Sand, Residue, Burnt Residue and Seeds. A line that sends failed material back upstream is more reliable than a dead-end bin.
Residue and Kinetic Press stage
Tier 3: Wet Seeds, Flowers and Water
Combine Seeds with Water, deliver Wet Seeds to Planter Boxes and leave open growth space. Harvested Flowers release Gold and Amethelis; the boxes pass the useful output downward.
Water becomes a planning constraint. Snow and Steam can move Water through phase changes, while enough captured Lumlings provide a small continuous supply. Treat that creature source as steady support, not guaranteed high throughput.
Power: Copper, Steam and a Renewable Loop
Mine Copper, melt it with a controlled heat source and form the components needed for the power network. Route Steam through turbines, condense it back to Water and return it to the loop.
The loop recirculates Water, but it is not input-free: the walkthrough later notes that Lava is consumed slowly. Build heat-source replenishment into the design.
Renewable Fluxite and Void Processing
Use the Void Rift and Planter Boxes to produce Void Petals, combine the demonstrated inputs into Voidbloom, then feed the correct material to a Flux Emanator. Keep the plant loop and Fluxite collection physically separate so unreacted material can circulate without blocking output.
Void Juice supports Void tools and can become Void Husk after use; the late-game chain includes a way to return Husk toward Juice rather than treating it as waste.
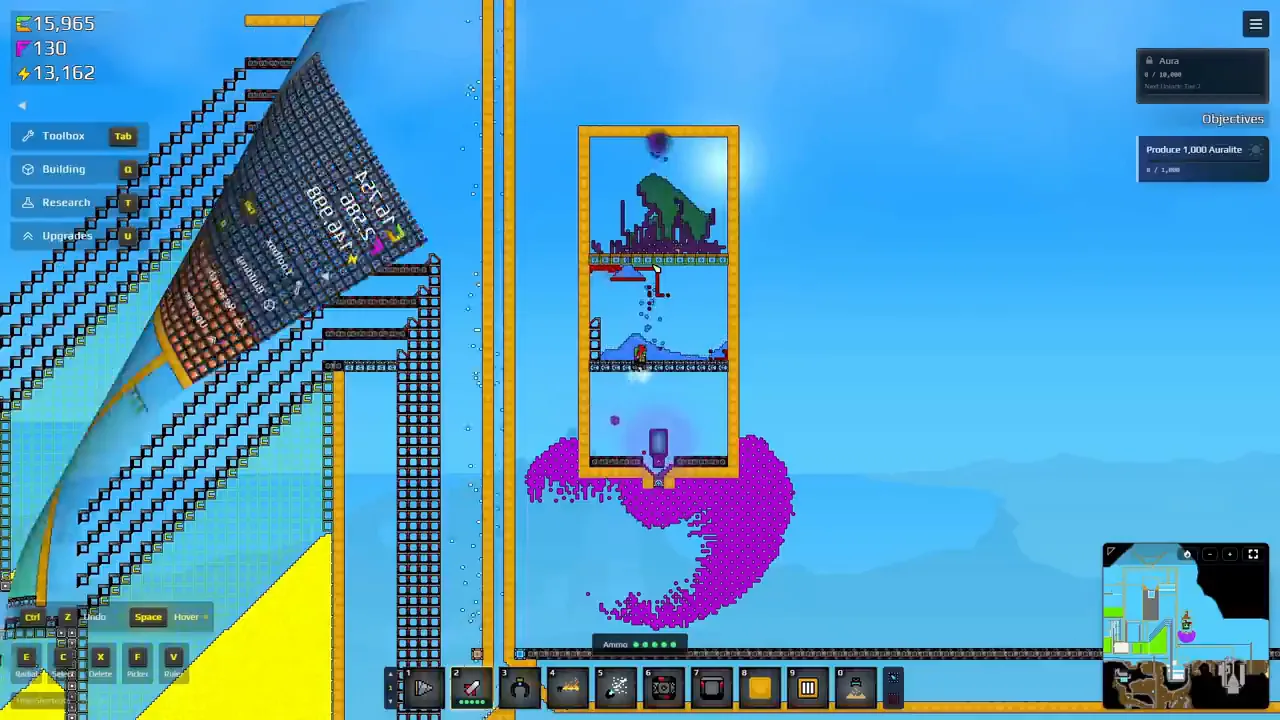
Aura Farming and the Current Endgame
Aura production combines power, Florinol/Aurixite processing and an Aura Extractor. Build the reaction space first, keep Shaker piles moving and give the extractor a clean output path. Exact chamber dimensions are layout choices, not canonical ratios.
At this stage, optimize for maintainability: buffer heat, recirculate incomplete reactions and keep utilities reachable. The endgame factory is several stable loops joined together, not one giant mixed tank.
Source and Editorial Note
Source: The Dutch Actuary — Step by Step Guide: Every Build T1–T7 (27:44, published August 22, 2026). This is an original, task-oriented guide derived from the linked creator walkthrough. Automatic captions were checked against the on-screen sequence and captured official sources; creator layouts remain examples, not official ratios.
Guide FAQ
Is the power loop really infinite?
Must I copy the exact layout?
Beginner Guide
Your first factory and logistics fundamentals.
Gold Production
The complete chain, including every byproduct.